Posted: February 22, 2020
Categories: Nutramilk
Originally Posted on TheNutraMilk.com
Images and recipe by Alphafoodie
INGREDIENTS
- 1 cup soybeans
- 8 cups of filtered water
INSTRUCTIONS
- Start by soaking the soybeans for 6 hours or overnight. During this time the soybeans will expand to 2-3 times their size.

- Once they are soaked you can then optionally peel the beans. This isn't 100% necessary, although it will help to blend smoother homemade soy milk and only adds a couple of extra minutes of prep time to the recipe. After soaking the beans, the skins will come off very easily.
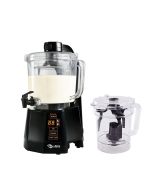
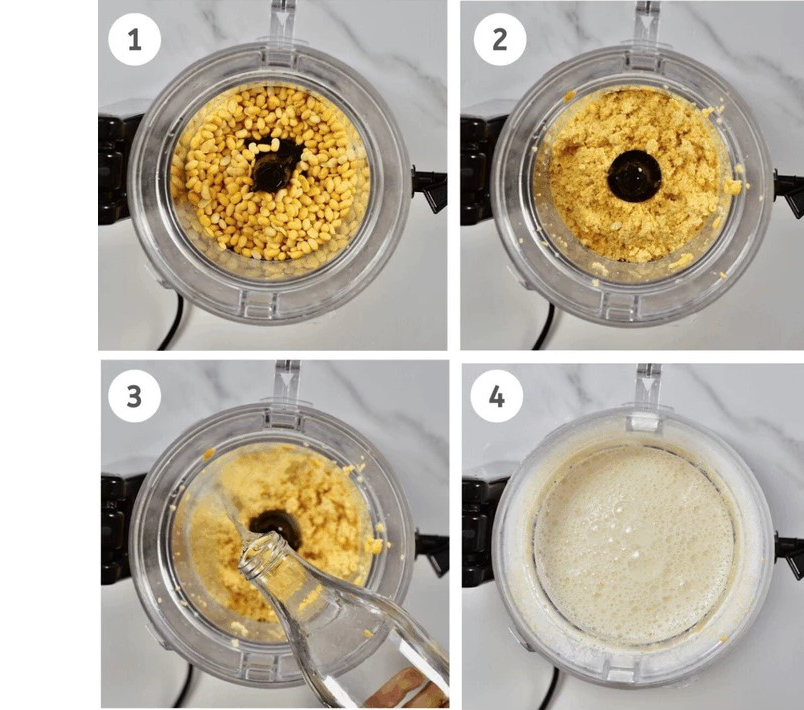
- Add the soaked beans into the Nutramilk processor
- Blend for 10-15 seconds to break down the seeds slightly.
- Add the water.
- Blend again until smooth and creamy.
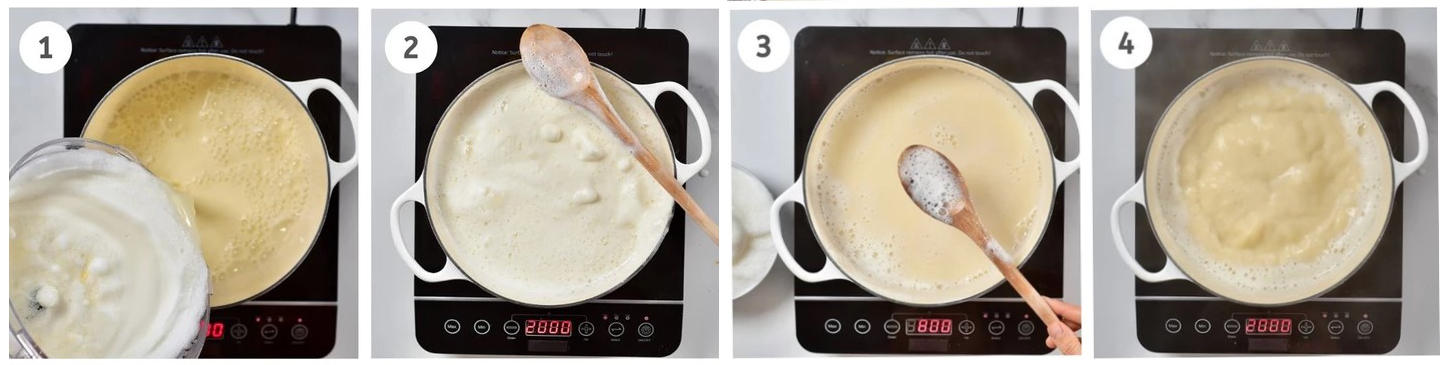
- You then do an initial strain into a large pot. This will reduce the risk of any of the beans burning to the bottom of the pot while you heat it.
- Bring the mixture to a boil over medium heat, stirring often.
- When the mixture starts boiling, continue to cook for 3-4 minutes. While boiling, remove the foam that starts floating on top.
- Reduce the heat and simmer for 15-20 minutes, stirring occasionally to make sure nothing is sticking to the bottom of the pan.
- Turn the heat off and leave to cool down for a few minutes. Then pour the milky liquid in a bowl through a nut milk bag.

- Squeeze or press down the nut milk bag so all the liquid drains into the bowl. This can then be transferred to a bottle.
- Store your homemade soy milk in the fridge for 3-5 days. If it begins to smell/taste sour then it is past its best.
- You can also freeze soy milk for 3-6 months. However, this can slightly affect the texture of the milk (although not the nutrition).
Images and recipe by Alphafoodie